Showing posts with label Frugal Friday. Show all posts

Friday, January 20, 2012

Frugal Friday~From Bar to Liquid Soap

I have been wanting to make my own liquid hand soap for awhile.  I usually buy a gallon of antibacterial soap at Sam's club and have been waiting until I was almost out of my supply before I attempted making my own.

Yesterday I decided I couldn't wait any longer.  I had an empty laundry soap bottle that was waiting to be put to good use. 

I love the smell of fels-naptha soap that I use in my home made laundry recipe so of course it was my soap of choice to make the first batch.

I found this recipe several  months ago and if you search there are several to be found.
1 c soap flakes
10 c water
1 Tbs glycerin 


A bar of fels-naptha is more than one cup so I "modified" the recipe to use all of the bar.  I added another two cups of water to compensate.  I also read more glycerin may be required with some soaps, and of course, I added 20 drops of tea tree oil for it's antibacterial properties. 

Add grated soap, tea tree and glycerin to water. 
Heat on medium heat until soap is melted.  

Once it has cooled enough you can pour it into your storage container.

What most of the recipes don't tell you is that the glycerin will thicken as it cools.  This will take several hours.  I added more glycerin due to the increased soap and liquid.  As the product cooled, I had to add more water because it was too thick.  The amount of glycerin you need is going to depend on the type of bar soap you choose.  In researching the subject, I came across various sites.  Some indicating glycerin may not be needed for some types of soap, while more glycerin is needed for castile type soaps.  This got me looking further into what type of soap fels-naptha was classified as.  I couldn't find anything that actually classified it as a castile soap, but rather a laundry soap.  There were many comments on how well it works when rubbed directly on stains and how it will help whiten clothes.  Some also felt it was a more harsh type soap. 
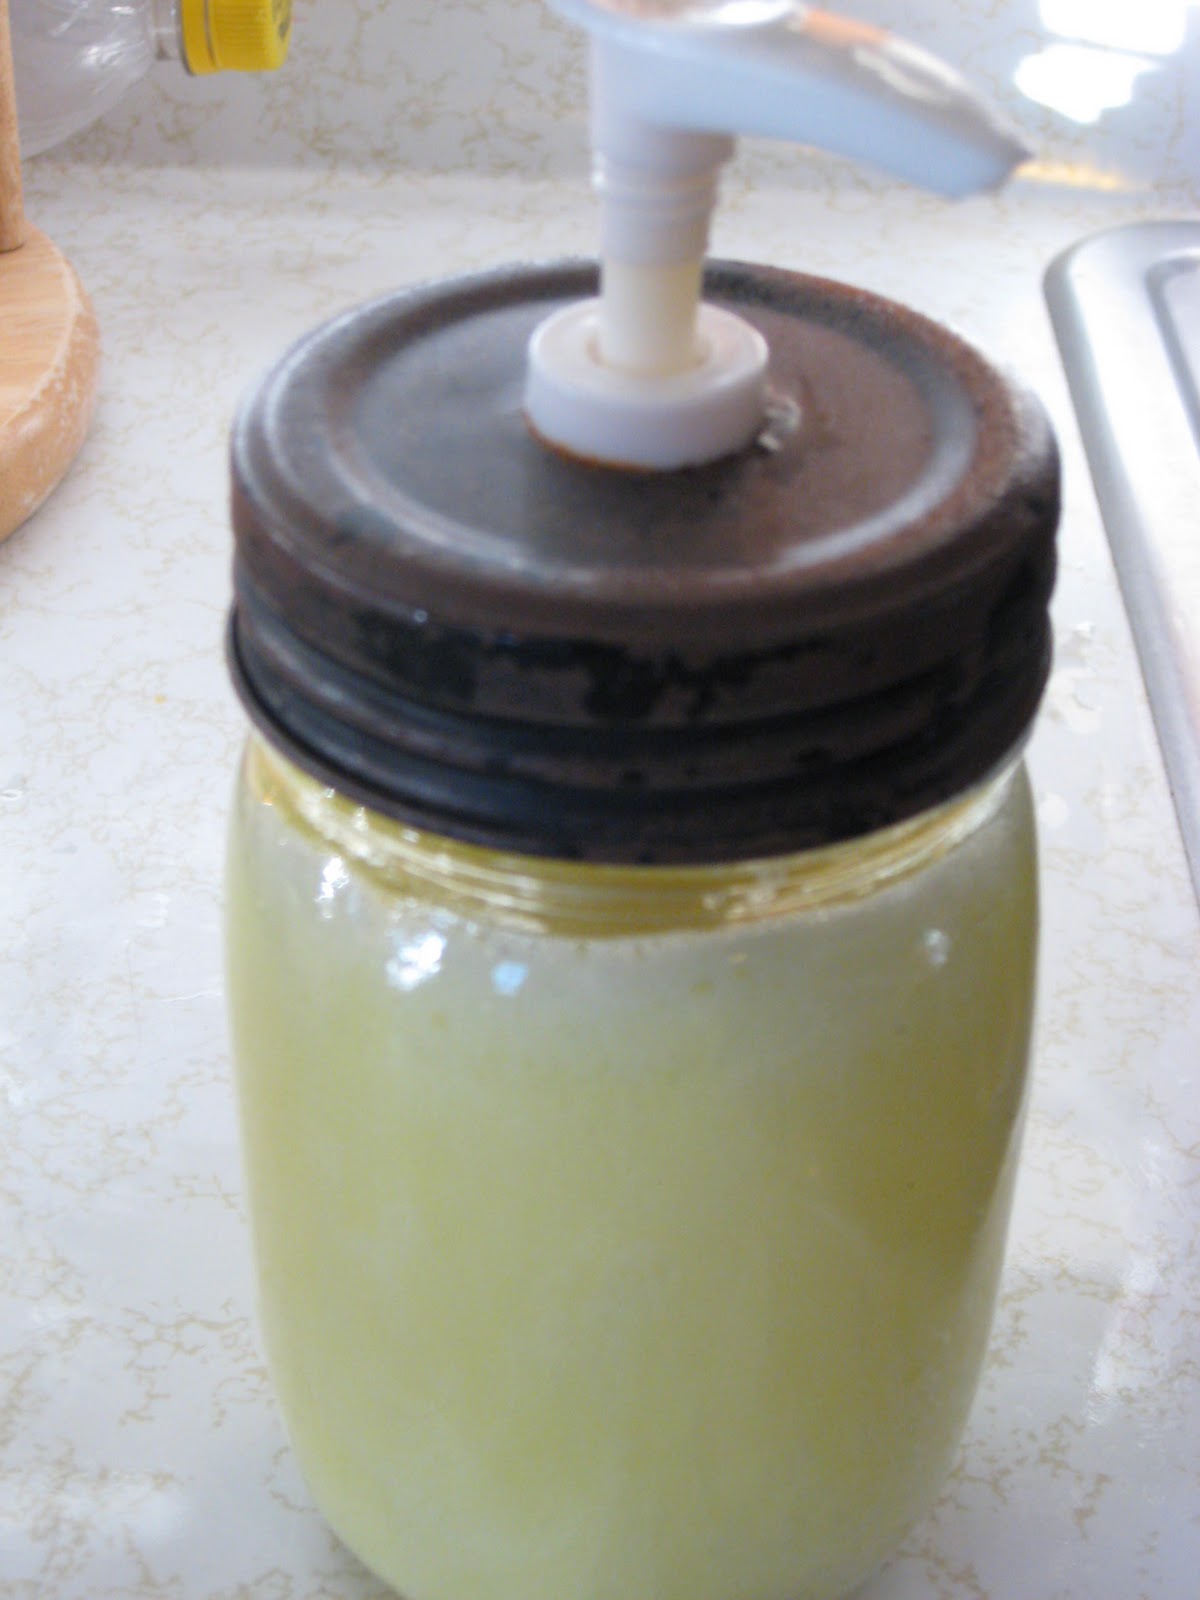
Finished Product
Here is the finished product.  Don't you love the mason jar pump dispenser?  This was something a friend gave me as she was cleaning out things so no longer used. She said she knew I would find a good use for it.  I was hoping to use it for hand lotion in my bath, however, this home made hand soap recipe called for a special dispenser.  

Please disregard the plastic Pepsi bottle in the background.  My husband refills them out of two liter bottles and has a collection sitting on my counter.  If you bump them they fall over like dominoes!  Ugh!

Next to try making liquid body wash.  I already have a bar of Yardley Aloe and Cucumber soap I want to use.  We currently use Jason Tea Tree Satin Body Wash, and have for several years.  The cost is around $8 for a 32 ounce container.  The cost of a bar of Yardley soap is .69 when I can get them on sale.  

My only complaint about the recipe is that is is a little "stringy".  It leaves a trail of soap from the dispenser when you pull your hand away after you have pumped it into your hand.  This may be remedied with altering the glycerin amount.  I will have to experiment on the next batch.  This netted a little over a gallon of soap, which will last us quite awhile.  Cost of fels-naptha soap .99.  Cost of glycerin 3.40 for an 8.5 ounce bottle.  The glycerin can also be used in other recipes such as body lotions, which I hope to attempt soon.


Friday, September 9, 2011

Frugal Friday~Toothbrushes...Don't toss 'em, wash them

Have you ever heard your doctor or dentist tell you to throw your toothbrush away and get a new one when you have a cold so you don't keep exposing yourself to the same germs or virus?  I first heard this almost 20 years ago, and my response was "I just put them in the dishwasher".  The responses I have gotten were "that's a great idea" or "I hadn't thought of that". I guess I was ahead of my time!  As my mother will tell you, if I can fit it in the dishwasher, it goes in.  I even put my small plastic trash cans in there for a good cleaning.  They fit, so why not?

When we moved to this house it was the first time I didn't have a bathroom on the main floor, or each floor for that matter.  We either have to go up stairs, or down, for a bathroom.  We brush our teeth a few times a day, so my solution was to put our toothbrushes in the same drawer as our silverware.  It's close to the sink where we can easily get to them, without having to go to another floor.  When doing this, I decided instead of washing our toothbrushes periodically in the dishwasher, we now wash them each time they are used.

Of course this means we each have to have more than one toothbrush.  We each have specific colors we use, or we write our name on them with a permanent marker.  Mostly for my husband, he's the one that has a hard time remembering his color. Once a toothbrush has lived it's life, it gets a new use as a cleaning utensil.  They are great to use to scrub in those hard to reach places!

Friday, September 2, 2011

Frugal Friday~Creating Your Own Artwork with Fabric


This idea came from the Nate Berkus show.  I have only watched it a few times and happened to catch an episode where he was talking about making your own piece of art out of fabric and a artists canvas. The type that has a wood frame on it.  You can find these at hobby lobby in various sizes.  If you watch you can get them on sale, or even print off one of their 40% off coupons for even more savings.  They offer the coupons pretty frequently and they are easy to print off at home. 

After you have decided on the size  of canvas you want ,you can then purchase the necessary amount of material to cover the canvas. Maybe you already have material on hand and would like to get the canvas to accommodate your material.  Thicker material works better for this project.  I used outdoor fabric for this one.  Be sure to allow about three extra inches of material on each side to wrap around the canvas.  The amount you will need to allow will depend on the thickness of the frame the canvas is on.  I decided to leave the plastic cover that what on the canvas when I bought it.

One you have your material and canvas you will also need a stapler.  Not a stapler for paper, but rather a stapler to allow you to tack the material to the back of the canvas.  Iron your fabric ahead of time and cut it to size.  Lay the fabric piece face down.  You want the back side facing up.  Place the canvas side face down on top of the fabric.  Tack one side at a time stretching the material taut over the canvas front as you staple each side.  This is my finished product.  I haven't hung it on the wall yet and think I prefer it propped against it instead.  If you want to hang your finished product you will need to add a picture hanging attachment to the back of the canvas. 

 
I have some material with chickens on that I really like. I may try to find some smaller canvas pieces to make some artwork for my kitchen or entry way. 

Friday, August 19, 2011

Frugal Friday~Making Your "Bisquick" Baking Mix

I can't tell you how long it has been since I have purchased "Bisquick" (baking mix).  We used to use bisquick for a lot of things.  Pancakes, biscuits, and my husband's favorite...pizza crust.  He likes the taste of bisquick as a pizza crust.  The rest of us, not so much.

After reading about making your own, I started to do what I always do, research.  I was skeptical at first, but found a recipe an Allrecipes.com that looked simple enough to try. If you use the tools on the site you can change the recipe according to the servings you would like to make.  You can either make enough to use immediately or make extra for later use.

I have used this recipe several time to make drop style biscuits and can't tell the difference between prepackaged mixes.  I have also made "Red Lobster" style biscuits by adding grated cheddar cheese and garlic to the mix.  This recipe is less expensive than purchasing prepackaged mixes and won't get old.  You can make a fresh batch each time you need baking mix!


This recipe is for 12 servings.  I always use the calculator and make it for 6.  I usually have enough for two batches of biscuits for our family of 4.

Ingredients

  • 9 cups all-purpose flour
  • 1/4 cup baking powder
  • 1 tablespoon salt
  • 2 cups shortening

Directions

  1. In a large bowl, combine the dry ingredients. Cut in shortening until the mixture resembles coarse crumbs. Store in an airtight container in a cool dry place or in the freezer for up to 8 months.


Here is the recipe for 6 servings.

Ingredients

  • 4-1/2 cups all-purpose flour
  • 2 tablespoons baking powder
  • 1-1/2 teaspoons salt
  • 1 cup shortening

Directions

This recipe's Ingredients were scaled to yield a new amount. The directions below still refer to the original recipe yield of 12 servings.
In a large bowl, combine the dry ingredients. Cut in shortening until the mixture resembles coarse crumbs. Store in an airtight container in a cool dry place or in the freezer for up to 8 months

Friday, August 12, 2011

Frugal Friday~Making Your Own Croutons

I used to make my own croutons, but that was around 20 many years ago.  It was simple enough to do, so why did I stop?  I suppose I got lazy.  It was easy to buy a bag of croutons and not even think about what went into them or how much they cost.  Croutons weren't just for salads.  They became something to munch on when we wanted something crunchy to eat.

I haven't bought croutons for over a year.  Part of the fact is that I now how braces and crunchy things aren't as easy to eat.  Let alone pain free at times.  Lately, I have been catching myself yearning for croutons when shopping for groceries.  I take a look at the price, along with the selection, and pass them by.  I am not a big fan of garlic.  I don't like to taste my food for two days later.  I like it, but in moderation.  Many of the croutons you buy contain more garlic flavor than I like.  Hence the journey to make my own.

 I was inspired by a friend, Maria's, blog postings on "Things I May Never Buy Again" and another in Part 2.  I have been wanting to make some croutons since reading her posts a few weeks ago.  Lotion as well, but that is for another day.  I had an extra loaf of bread we were neglecting so I decided to start the venture.

I searched for a recipe and the first site that popped up was How to make croutons from left over bread.  Even though my bread wasn't "left over" I was ready to give it a try.  I laid the pieces of bread out on my dehydrator tray to dry out for a few hours.  The bread was really moist and wasn't going to cut easy.  After a few attempts with a knife I noticed the site mentioned using scissors to cut the bread.  What a great idea!  It worked great.

Bread Cubes
 After cutting the bread I started making my concoction.  This recipe, or simple directions was just what I was looking for.  I hate following directions.  Just ask my husband.  Any time I can throw in ingredients and come up with something edible is great by me!


 I got out my large roasting pan, poured olive oil in the bottom, added garlic powder, onion powder, dried marjoram, paprika and pepper and stirred to mix.  I then added the bread cubes and mixed to coat them.  I ended up having to drizzle more olive oil over them and added more spices.  For added flavor I sprinkled them with fresh grated Romano cheese.  Put it in the oven at 350 degrees.  I stirred it frequently, and baked them until crisp.  I like mine really crunchy, so I baked them a little longer than most would.  I will have to make another batch of softer ones for the rest of the family. 

Finished Croutons

There would have been more in the container, but I couldn't stop eating them.  I also decided to make a salad as an excuse to eat more of them!


Friday, August 5, 2011

Frugal Friday~ No more buying swiffer pads

 
I have hard wood floors, which I LOVE.  They are very easy to clean.  One of the things I use to clean them is a swiffer dry mop.  I used to buy the replacement pads, until I realized I could use a microfiber cloth on the mop head.  I have some generic brand microfiber cloths, but my favorites to use are Norwex Brand.

The Norwex brand cloths are by far superior to any other microfiber cleaning cloths.  They attract more dust, are thicker, and much nicer to use. I like using the Norwex cloths so much I still have a box of unused swiffer pads in the closet.

It is easy to place the cloth on the head of the mop.  Place the mop on top of the cloth.

 Fold over one half and insert cloth into holes.

 Do the same with the other side.  
 Once one side of the cloth is soiled simply turn the cloth over and use the other side.


The mop is easy to access those hard to reach areas.  If I want to use a liquid cleaner I dampen the cloth and use a spray bottle mixed with 1/4 of liquid castile soap and then filling the remainder of the spray bottle with warm water.  Shake to mix.  This mixture cleans hard wood floors great and doesn't leave a filmy residue. 

If you would like to try to make your own cloths I found a site that gives you other ideas called:
13 Ways to Make Your Own Swiffer Pads